NVIDIA Omniverse Code allows developers to create, test, and deploy their own Extensions.
In this post, we walk through how to build a custom Extension using Omniverse Code and then publish it to GitHub for distribution.
This guide includes everything from setting up the development environment to making your Extension publicly accessible through the Omniverse Extensions window.
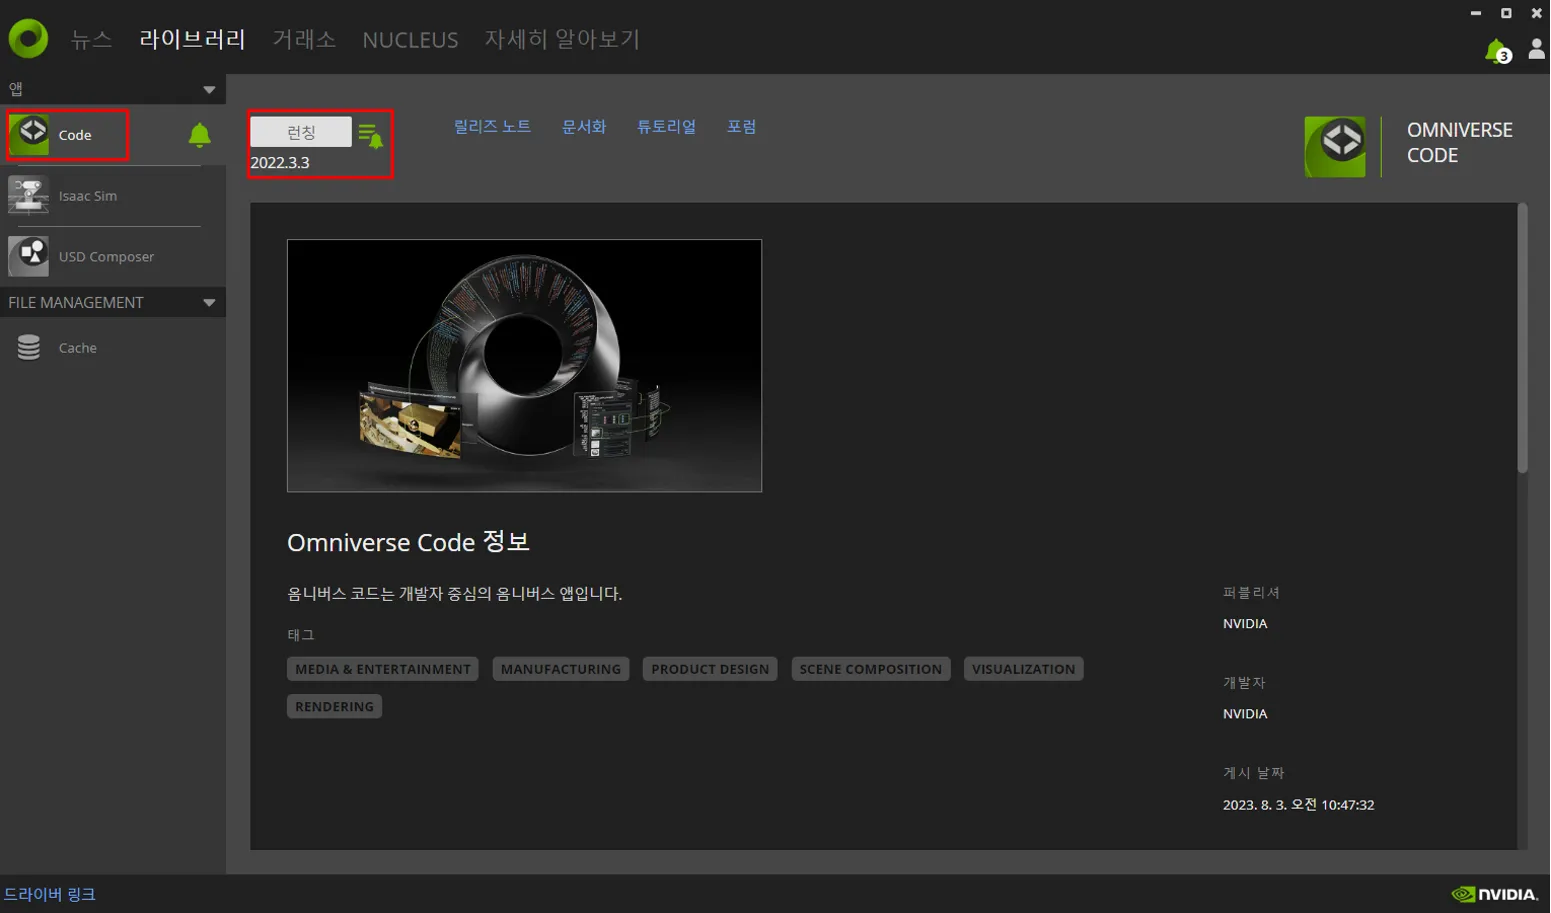
1-1. Install and Launch Omniverse Code
Use Omniverse Launcher to download and launch Omniverse Code.
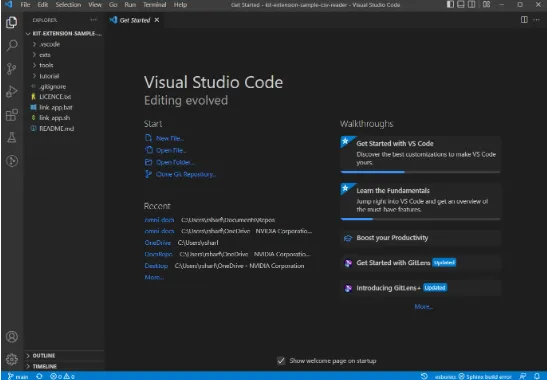
1-2. Install Visual Studio Code
To modify the Extension and push to GitHub, install VS Code.
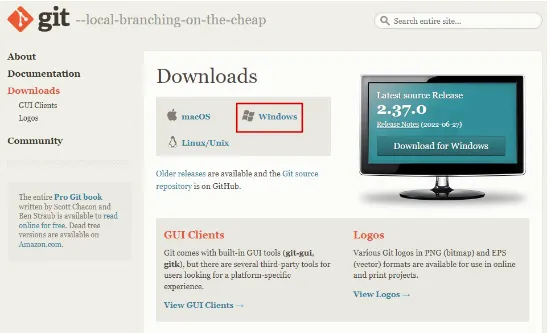
1-3. Install Git
Git is required to version-control your code and publish it to GitHub.

1-4. Create a GitHub Account
If you haven’t already, sign up at GitHub to host your Extension repository.
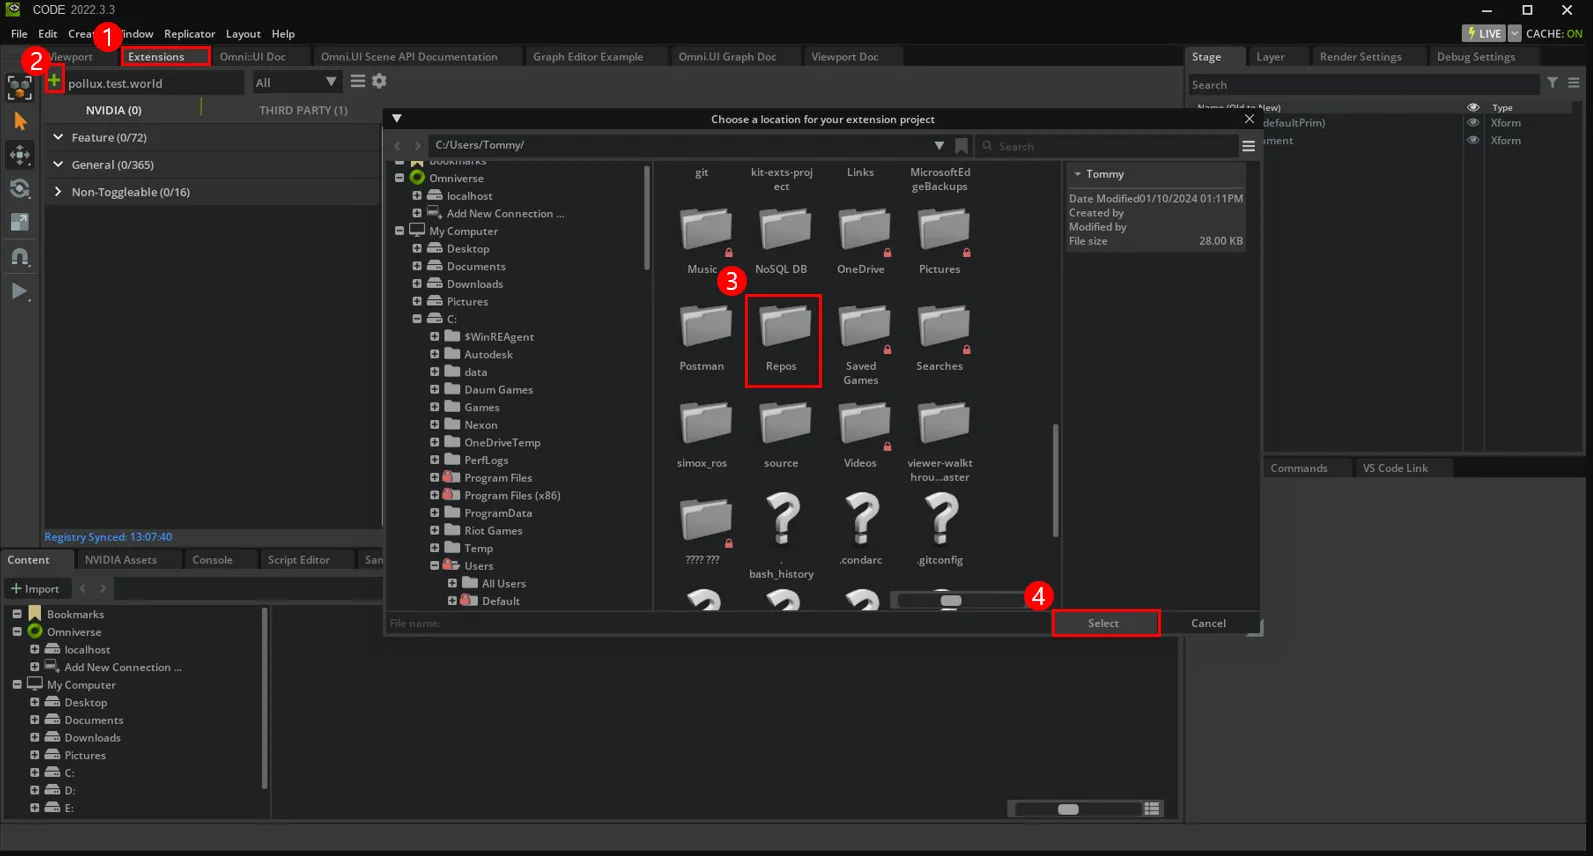
1-5. Create an Extension Template
Open Omniverse Code and create a new Extension using the built-in Extension Template generator.
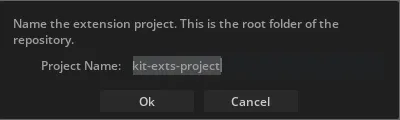
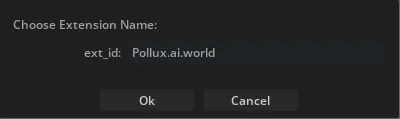
1-6. Set the Extension Name
Specify the root folder name and Extension name when prompted.
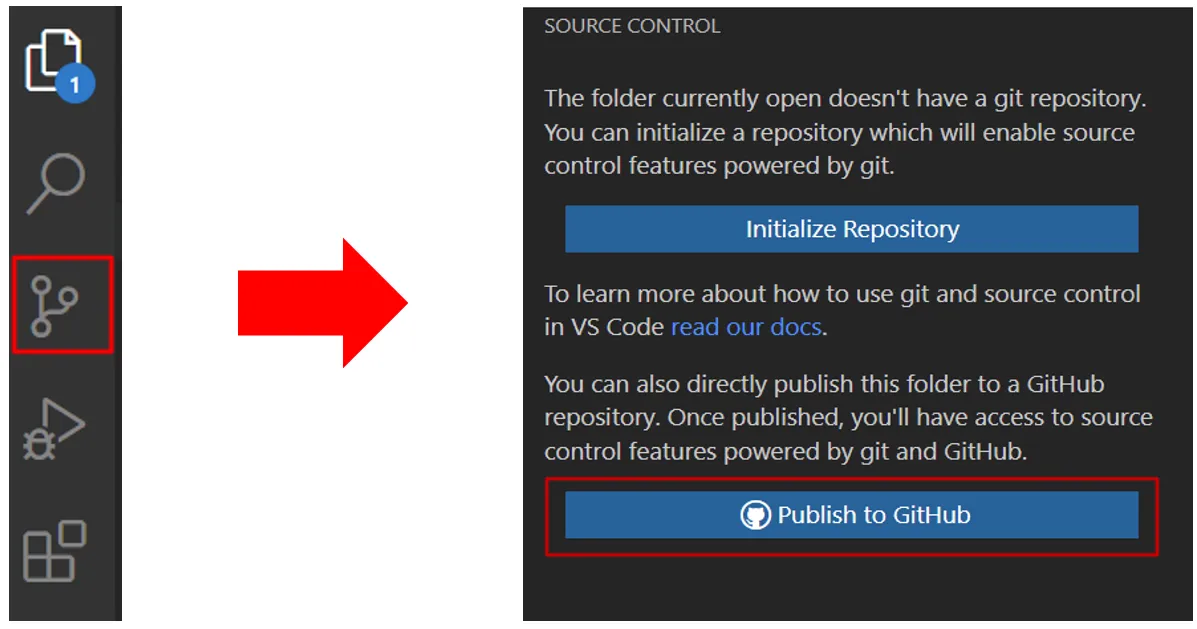
1-7. Publish to GitHub
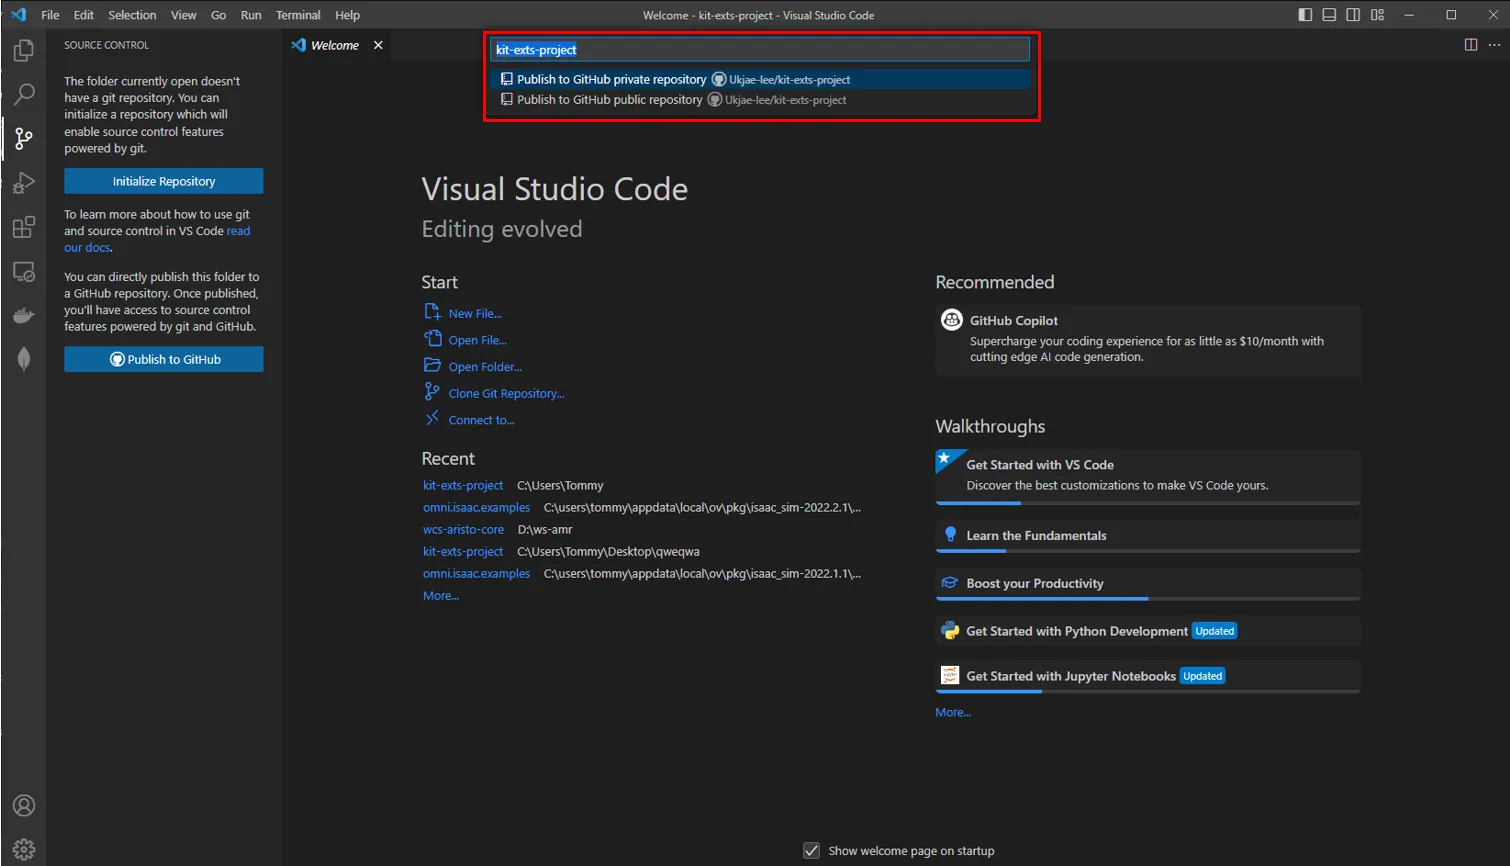
1-8. Choose Repository Visibility
You can set your repository to Private or Public.
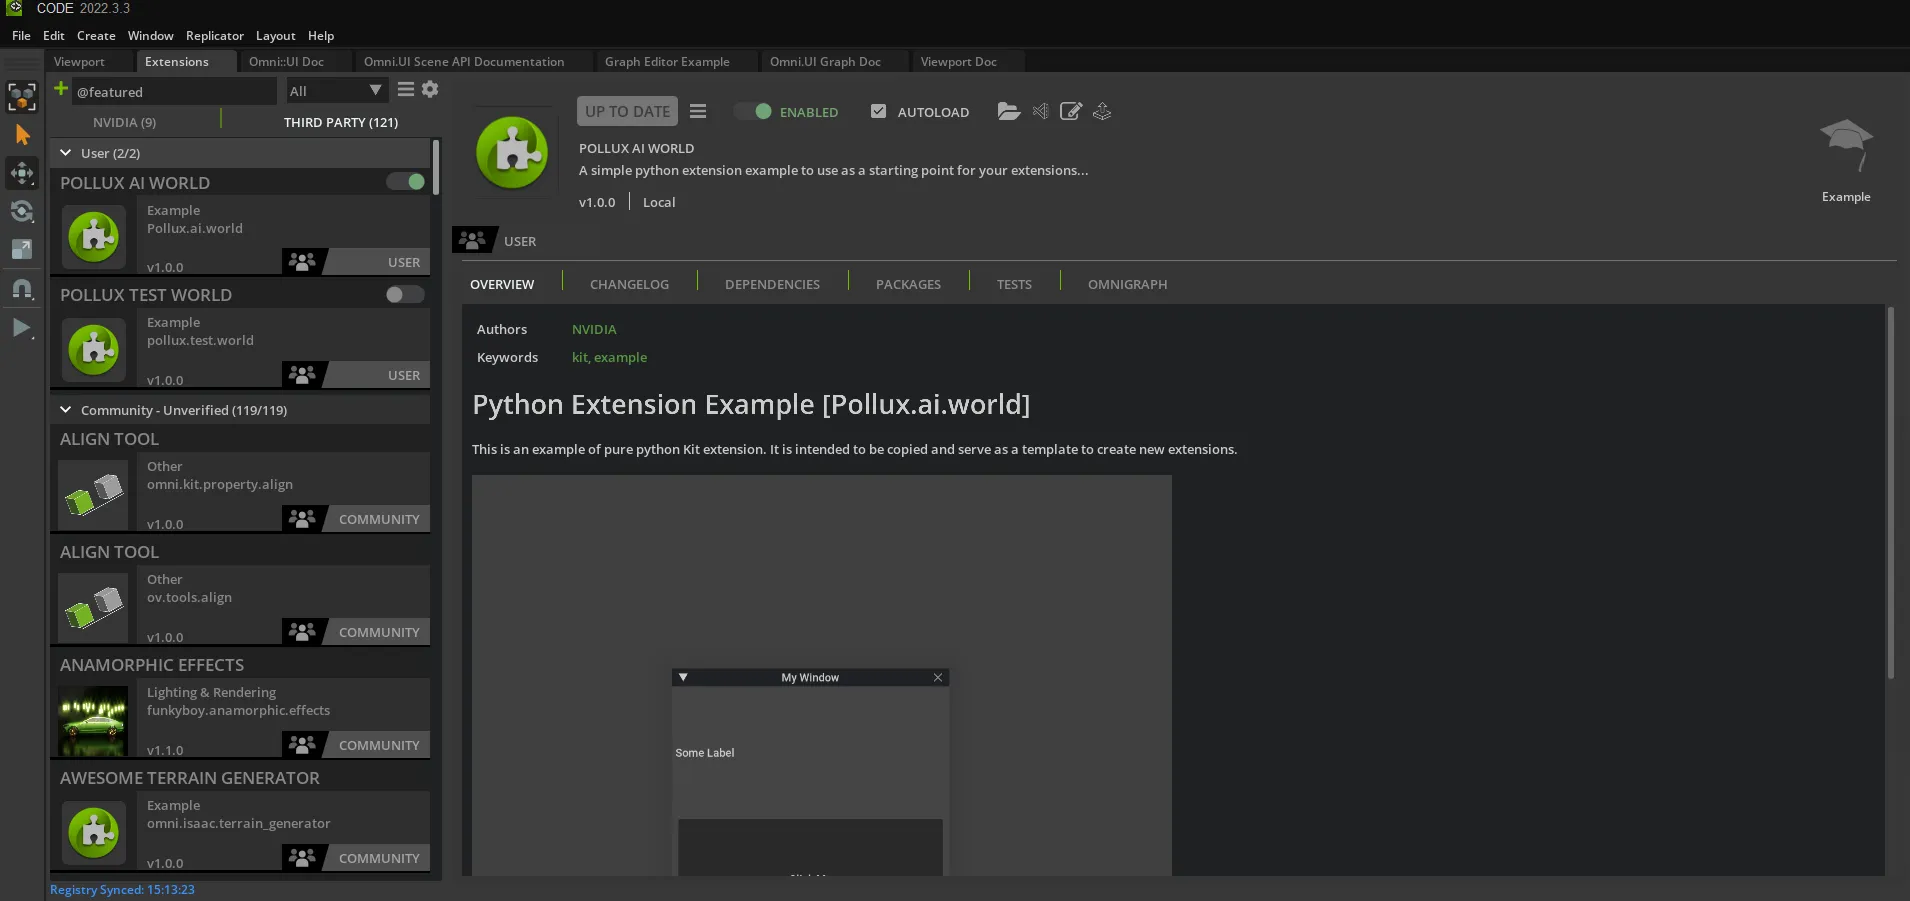
If you want it to show up in the Omniverse Extension list, it must be Public.

2-1. Add the omniverse-kit-extension Topic
omniverse-kit-extensionThis tag tells Omniverse to include your repository in its Extension list.
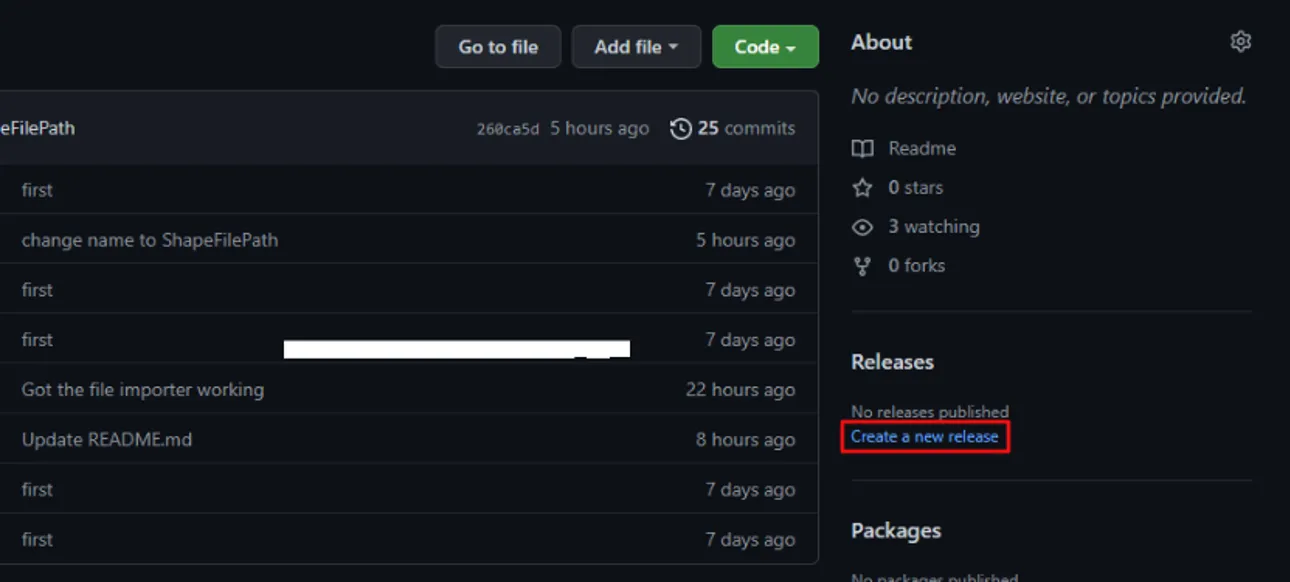
2-2. Create a Release
1. From the GitHub sidebar, go to Releases → Create a new release
2. Enter a tag (e.g., v1.0) and click Create new tag
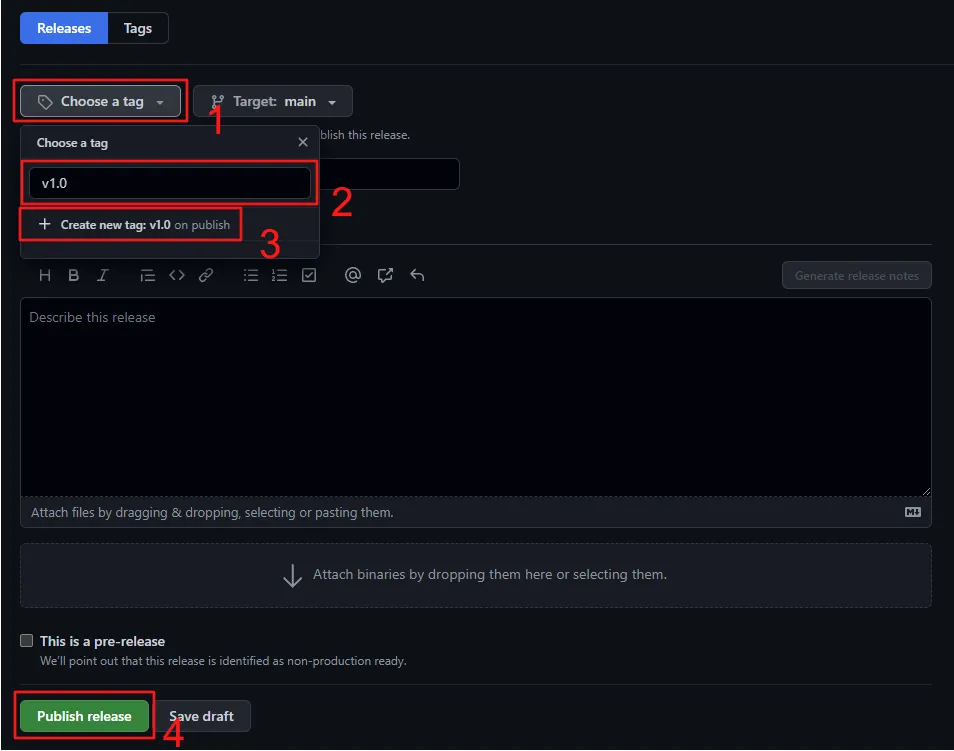
3. Hit Publish release
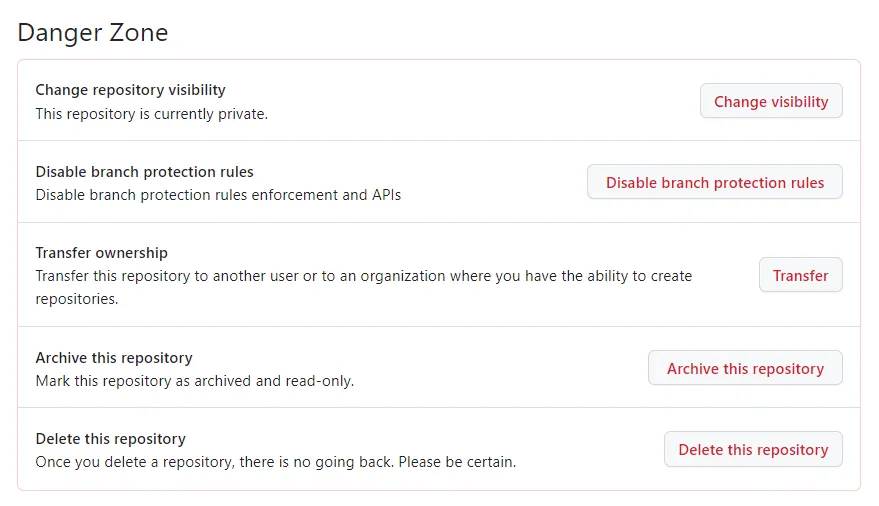
2-3. Change Repository to Public
Go to Settings → Danger Zone, and change the visibility to Public.
This is required for Omniverse to automatically detect and show the Extension.
This post covered the full process of building and publishing an Omniverse Extension to GitHub and making it available via the Omniverse Extensions window.
Summary of Steps:
This approach lets you easily develop, share, and manage custom Extensions. It’s ideal for personal projects, team collaboration, or open-source contributions to the Omniverse community.
Share this post: